22 Dec 2022
Create an “App” to auto-arrange your screens on a Mac
You turn on your Mac, or plug your external monitors in, and for whatever reason your Mac doesn't remember which monitor goes where and puts them the wrong way around. This was the repetitive frustration I had with my monitor setup and so I found a way to quickly re-arrange them back to how they should be – without having to open settings every time.
My daily driver for all things design and code is my MacBook Pro. Pre-pandemic, I would take this to and from work with me, plugging it into my external monitors when I’m at a desk. For whatever reason, however, Macs don’t appear to remember the arrangement of my monitors (is it just my monitors?), and so randomly I’d have to open up settings, select “Displays”, and fix them.
Now, I have this cool little “App” on my dock that I can click which will automatically arrange my monitors straight away. I say “App” in quotes because it’s more of a shortcut that simply runs an Automator script. For this tutorial, I’ll go through how to install the relevant utilities, create the Automator script, and then create an app icon for it to look great in your dock.
Step 1: Getting set up
Before we can write the script, we need a few things set up.
Heads up! This tutorial may look complicated with the terminal commands and shell scripts, but if you’re following along with me, it really is just a copy/paste exercise. If you have any questions, then ping me a message over on my contact page.
Let’s get started. Go ahead and open up a new Terminal window. I quickly open a terminal window by pressing CMD + Space, and then start typing “Terminal”.

We’re going to be using Jake Hilborn’s displayplacer utility, which first requires us to install Homebrew. So, in the terminal, paste the following:
You’ll need to enter your password and then press RETURN to confirm the installation of Homebrew.

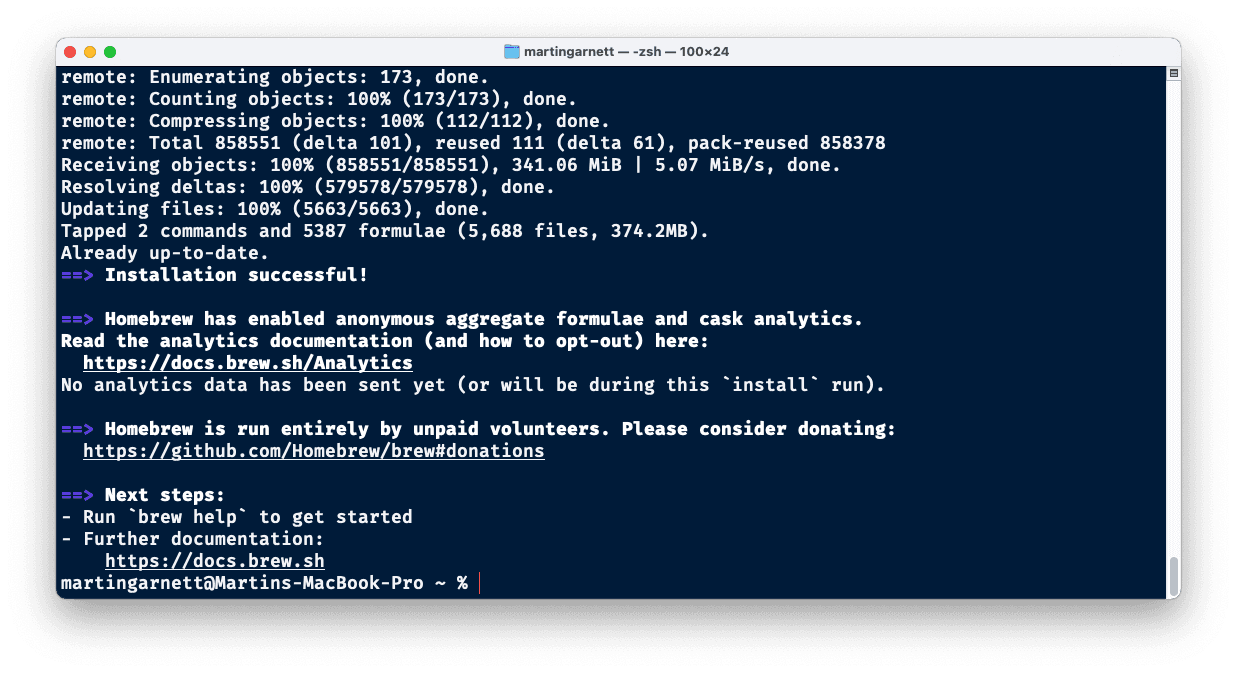
The installation may take a bit of time, especially if like me, you hadn’t installed the Xcode Command Line Tools first. (I’m writing this post just after re-formatting my Mac, so I’m still finding things I haven’t installed yet). You should see a success message in the terminal when everything is done.
Next up, we need to install Jake’s utility. Once again, this is as simple as pasting the following into your Terminal window:
With that complete, you should be able to type the following into your Terminal to get a nice displayplacer command that includes your current arrangement:
This is how mine looked:

Copy the generated displayplacer line, and paste it somewhere safe for now – you’re going to need this later.
Do not use this, but here's what mine looked like:
OK, now we’re all set up to start making our Automator script – onto Step 2…
Step 2: Creating the Automator script
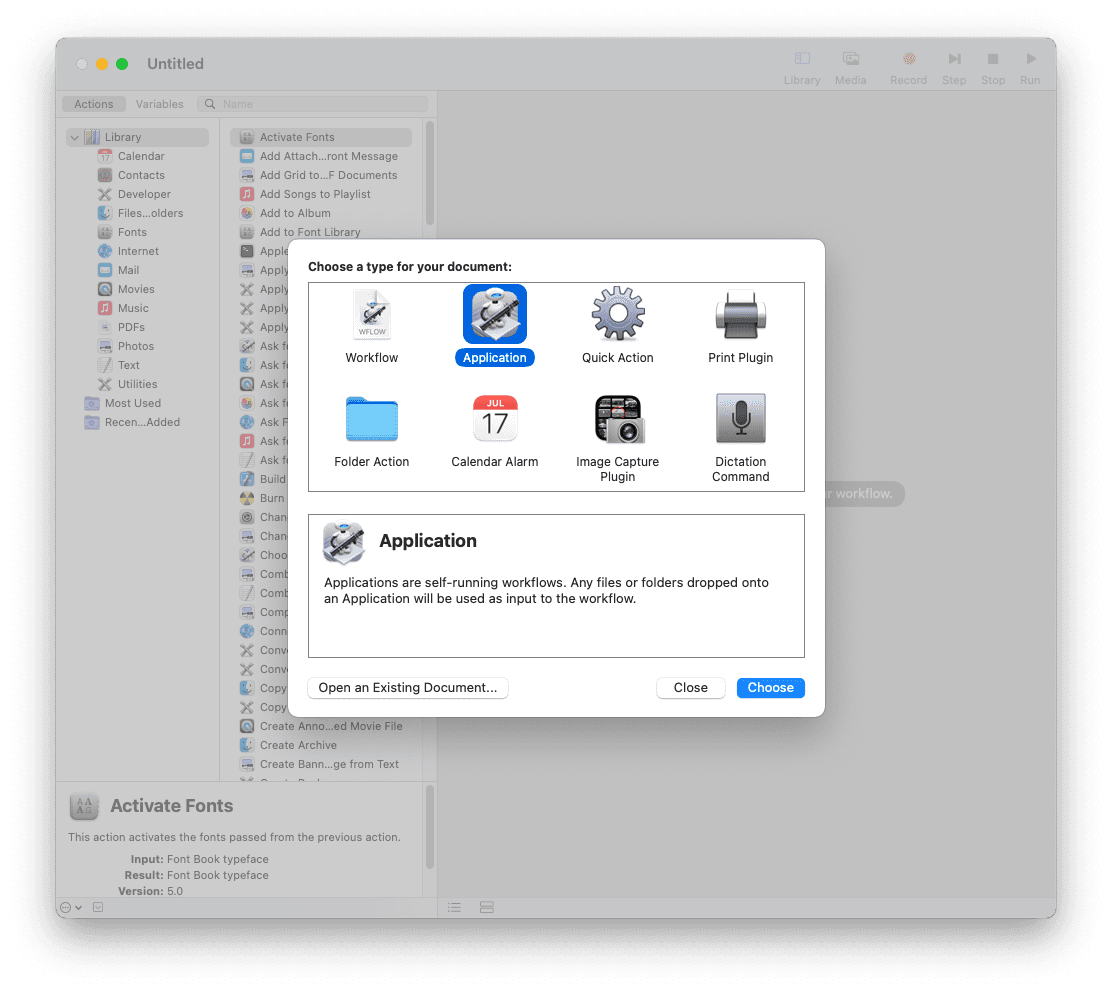
Let’s make the “App” now. Go ahead and open Automator.
We’re going to be creating an “Application” so click that and click “Choose”.
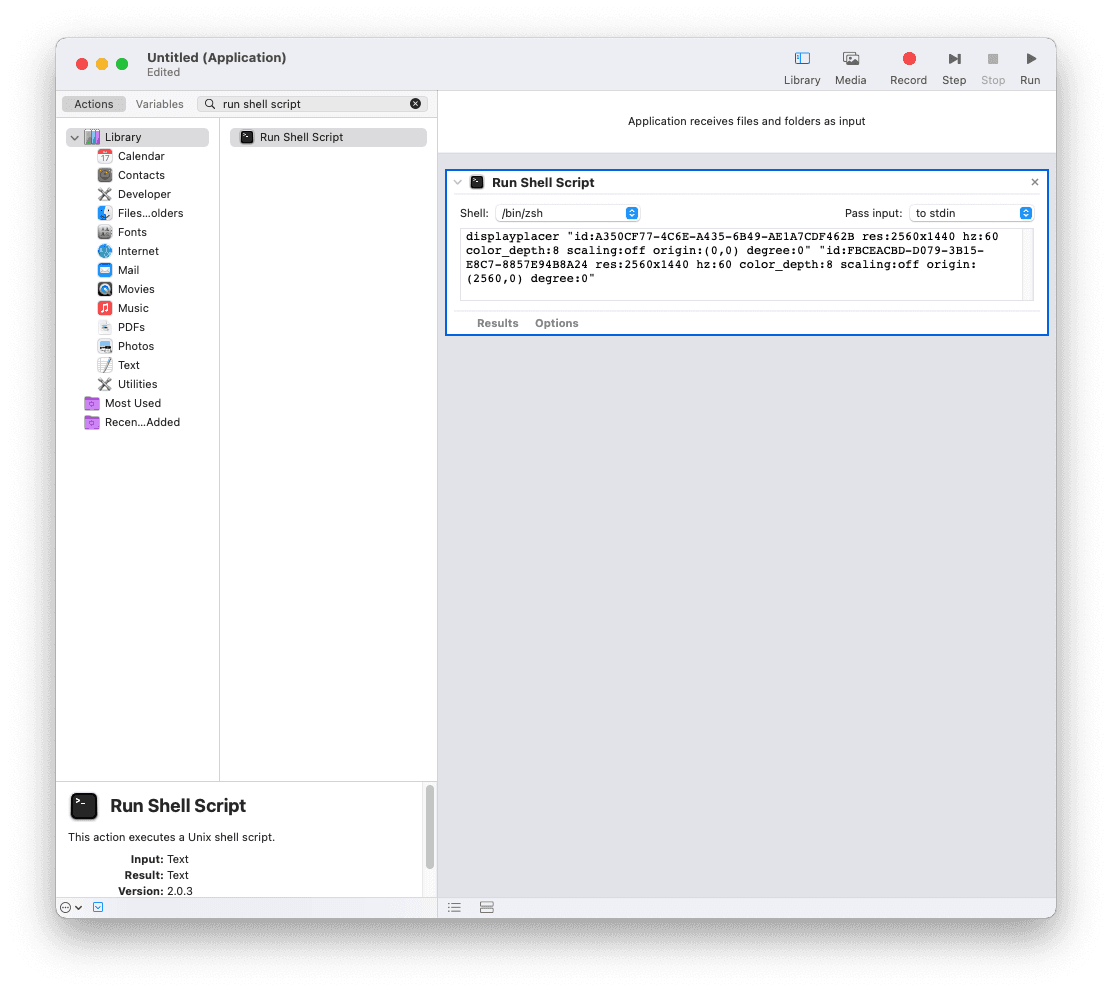
We want to execute the displayplacer command which is a Shell script. So start searching for “Run Shell Script” and drag the action into the main window.
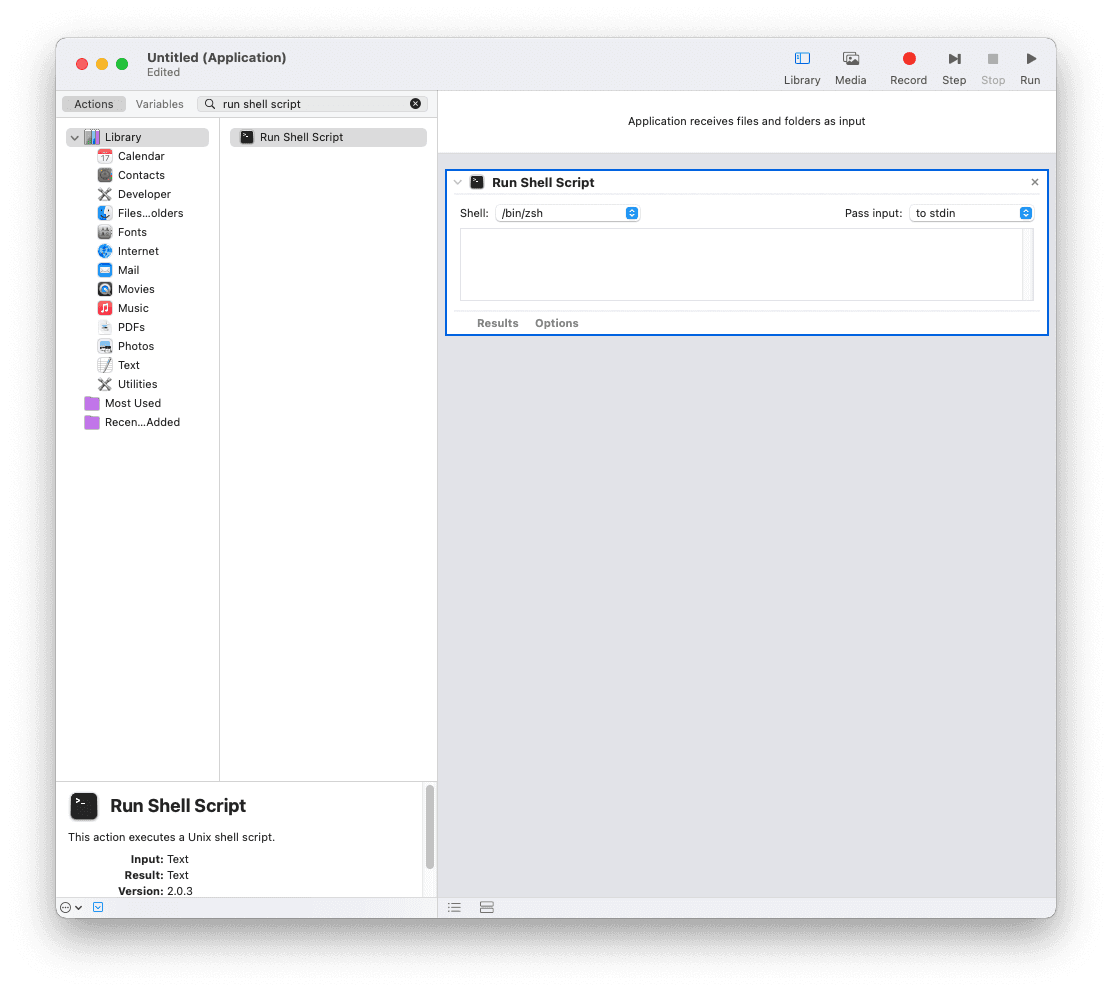
Paste your displayplacer script into the text area:
Go ahead and hit “Run”. You’ll notice that it won’t actually work just yet 😰…

This is because we need to tell Automator where our script should be run from. This stumped me for a while when I was first figuring this out, but this reply from Jordan Jennings provided the solution.
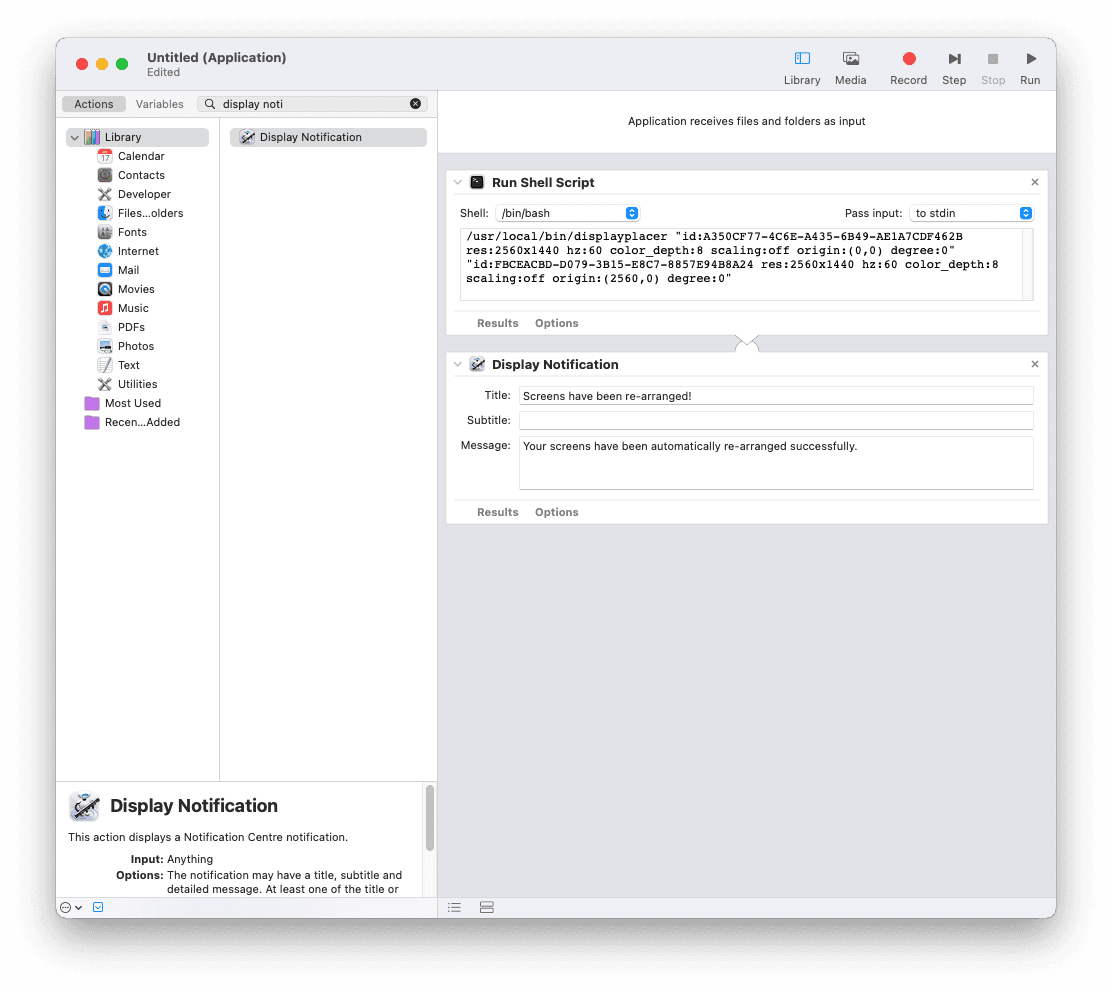
Firstly, we need to change our Shell to “/bin/bash“.
Then, we need to prefix our script with the location of displayplacer. If you’ve been following along with me, this will be “/usr/local/bin/“.
Heads up! It looks like if you’re trying to do this on an Apple Silicon Mac, the location has changed to /opt/homebrew instead of /usr/local. Thanks for pointing this out to me, Zach! 🙌

Once you’ve done that, hit “Run” again and hopefully, if everything’s working, your screens will flicker and after a short time Automator will show “Workflow completed”. 🎉
At this stage, the app is technically done. You could go ahead and hit save right now, close this tab, and go make a cuppa. But let’s add a little bit of polish.
Search for the “Display Notification” action and add it to your app under the current one we have there. Fill in the Title and Message with whatever you want.
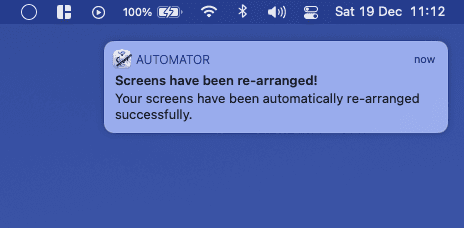
Now when you hit run, after it has completed the Shell Script, it’ll ping you a notification.
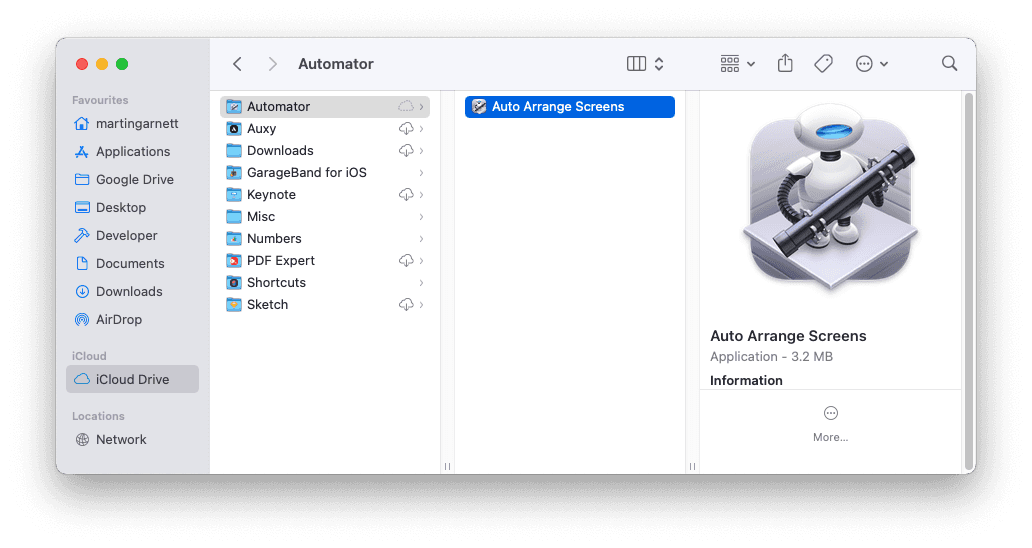
Go ahead and save your newly created app – give it a nice name.
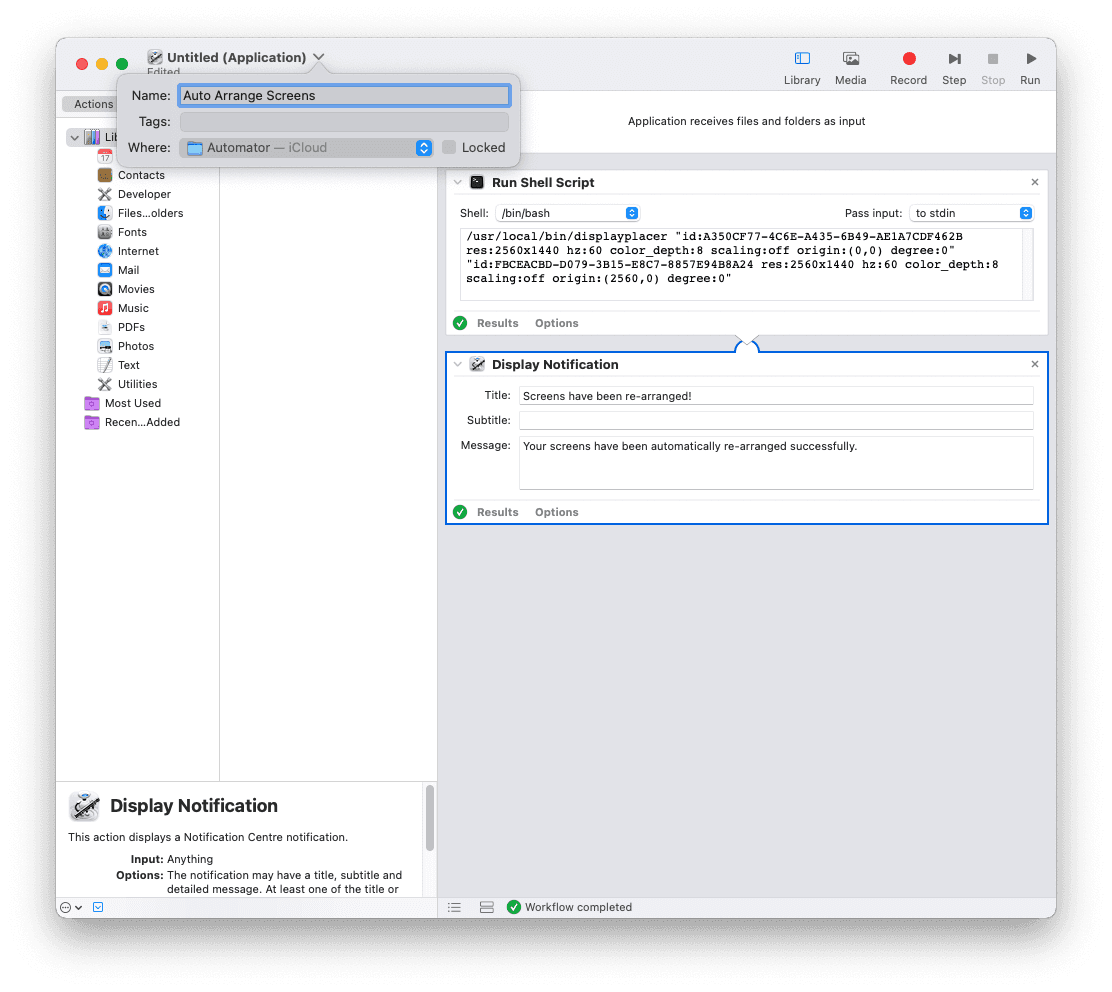
Now, if you go to where you saved your app, you can double click it to run it, and you can also drag it to your dock!

And there we have it! You’ve successfully made an app that will automatically adjust your screens. Once again, at this point, you can close this tab and be on your merry way with your new app added to your dock.
🤔 Although… wouldn’t it be nice if it had a snazzy custom icon?
Step 3: Making and assigning a custom icon to your new Automator app
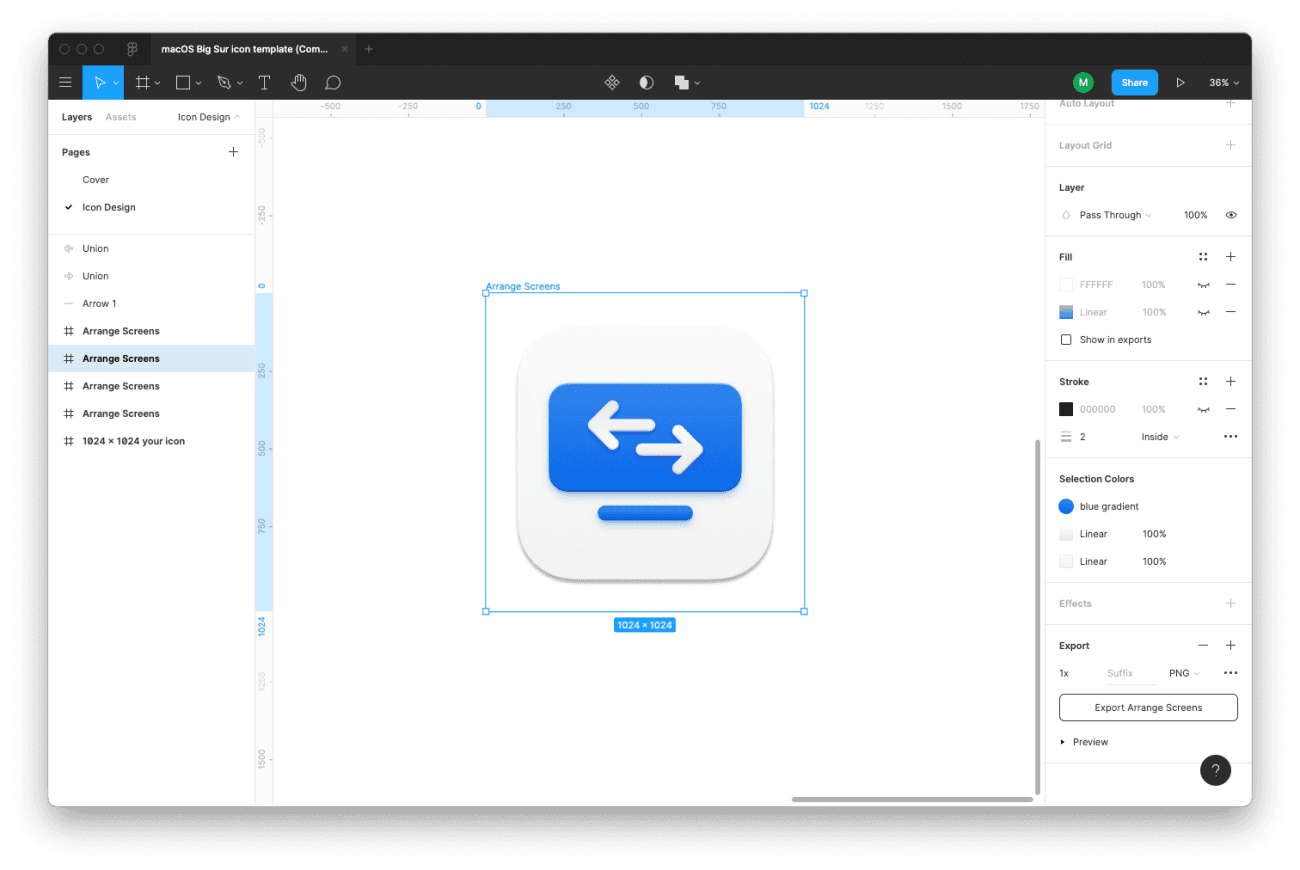
I’ve literally just upgraded my Mac to Big Sur, so I’m going to be using this awesome macOS Big Sur icon Figma template by Martin David to start building my icon.
Go ahead and hit that “Duplicate” button, and start designing!
I started my design by copying the Safari icon, and went down the route of a monitor icon with arrows ‘switching’. Adding lots of shadows and gradients, I ended up with the following:

Now before we can use this icon as an app icon, we need to first convert it to an icon. To do this, you can use CloudConvert’s PNG to ICNS converter.
Start by selecting your icons artboard (remember to turn off the backgrounds first as you want it to be transparent!) and then export it at 1x PNG if you’re using Martin David’s template (it can’t be bigger than 1024x1024px).
Next, head over to the CloudConvert converter, and upload your PNG icon.

All that’s left to do now is assign this icon to our app! Start by navigating to the app you created. Right-click it, and select “Get Info”.
Drag your shiny new .icns file to the little app icon in the "Get Info" window.
Summary
And there we have it. Your app is complete. Drag it to your dock and you can click it whenever your monitors load the wrong way around. I hope you enjoyed this little tutorial, it’s my first one so if you have any feedback or questions, hit me up over on Twitter or using my contact form.
